So, in late February, after taking
Amy Tavern's workshop (
Innovating the Chain) at
Pocosin Arts Folk School's annual retreat, I was inspired. I was inspired to make more chains, and to focus my energy and create some boundaries for myself in my jewelry making. I challenged myself to make ten chains from aluminum sheet metal. Why aluminum? Because I have a lot of scraps left over from an Airstream Trailer renovation project. And, it is shiny, light, and soft.
In my first post to this blog, I loosely listed my criteria. I wanted to create some limitations for myself, to not think too much about jewelry making in the sense of creating earrings, pendants, broaches, bracelets, necklaces, rings, etc. And I didn't want to think about making things to sell. I wanted to make some chains made of shapes which connect somewhat self-consciously. Each shape is made with the intention of connecting to another very similar shape. They are all sawed by hand, so they vary, and I also vary them intentionally.

I'm in the early stages of jewelry making, and I feel the need to learn more about what I like, before I go banging out a bunch of stuff I'm not so sure about. I have a lot of ideas. I'm trying to refine them, and grow my technical skills. This ten chain project is a learning exercise for me. The blog is to keep me on track and
say things out loud. I also work really independently and I feel a need to connect, so blogging seemed like a good idea.
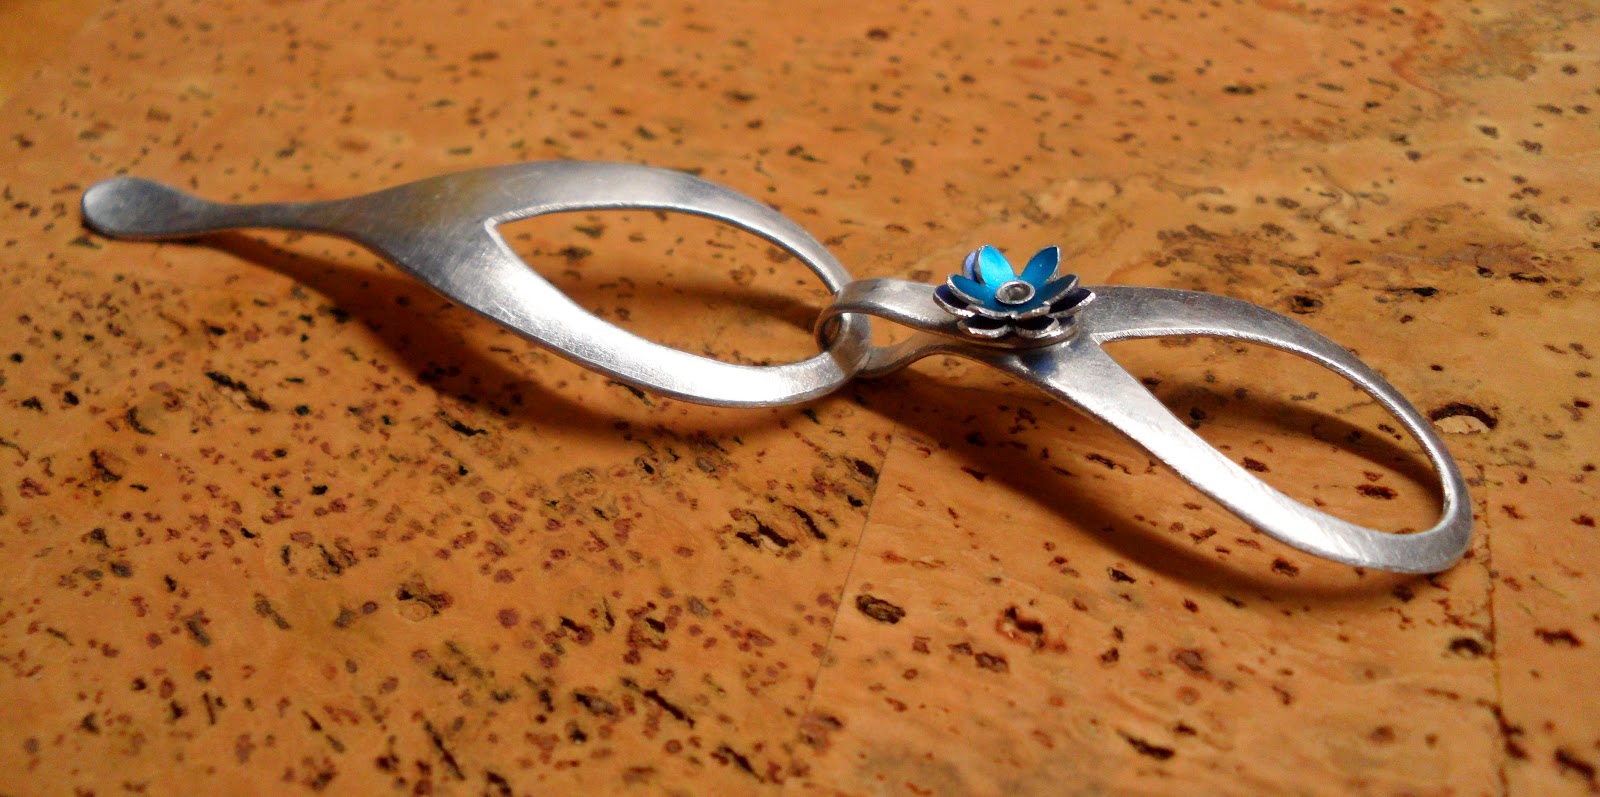
Number 3: A Chain with Flowers
I made a wee bit of progress on my third chain. In the photo at left you can see the shape of one of the links, just after I drew it, cut it out with my jeweler's saw, and filed the edges. It still lays flat on my bench pin. The next step is to form it, give it some dimension.
Here you can see I formed one of the links. I used a weighted rawhide mallet to
hammer and form the aluminum to a round steel dapping punch. This process also hardens
the aluminum.
The rawhide doesn't mar the top surface.
The underside
is shiny, burnished by the steel.
After the links are formed, they are connected and are secured with tube rivets, and this connection is bejeweled with little blue anodized aluminum flowers (which I sawed, filed, and domed). To complete the chain, I'll probably make around 18 links.
Thank you for reading!


